
Connect Printify
Steps
Use the Printify account that owns your shop. Printify shows the token once and currently sets a one-year lifetime. Read Printify’s token guidance and API documentation.
Open Printify API connections
Sign in to Printify. In the left navigation, open Account & Help, then Connections. If Printify asks for a developer contact email, add it before generating the token. Existing tokens and Generate appear in the API section.
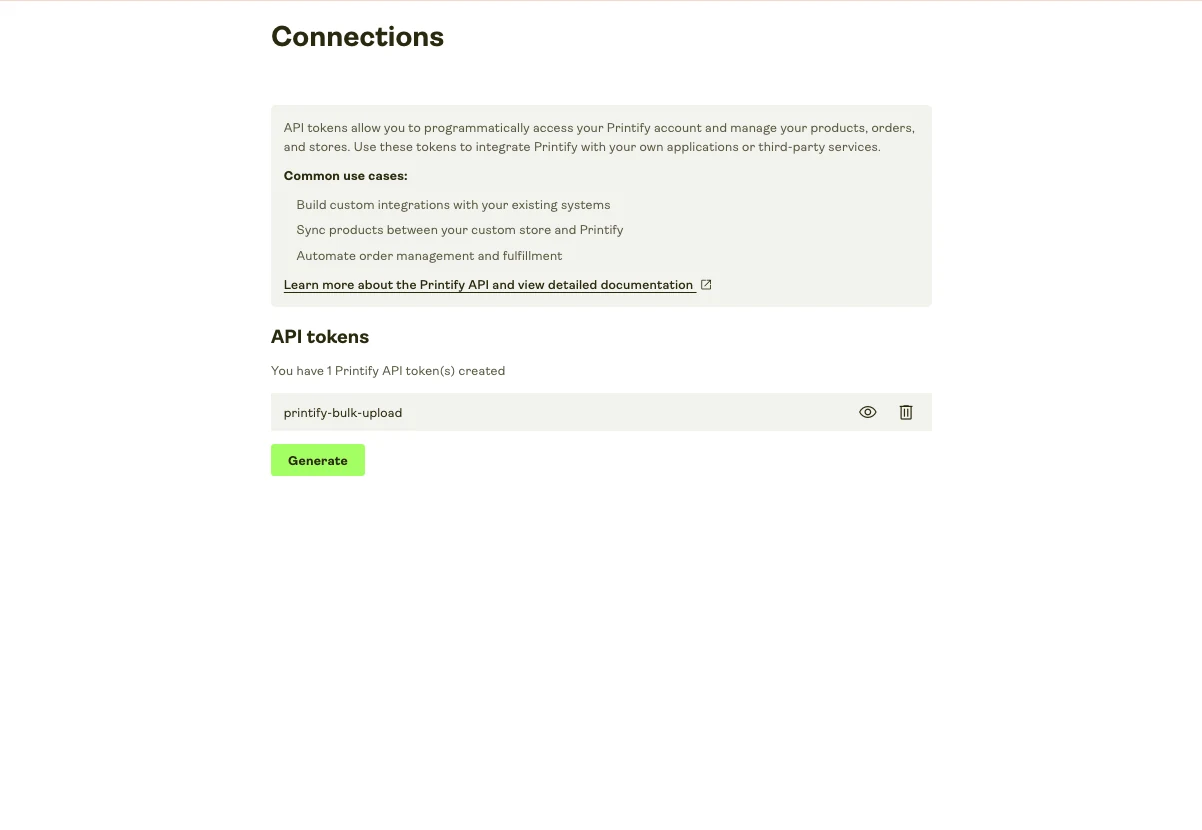
Generate a token with all scopes
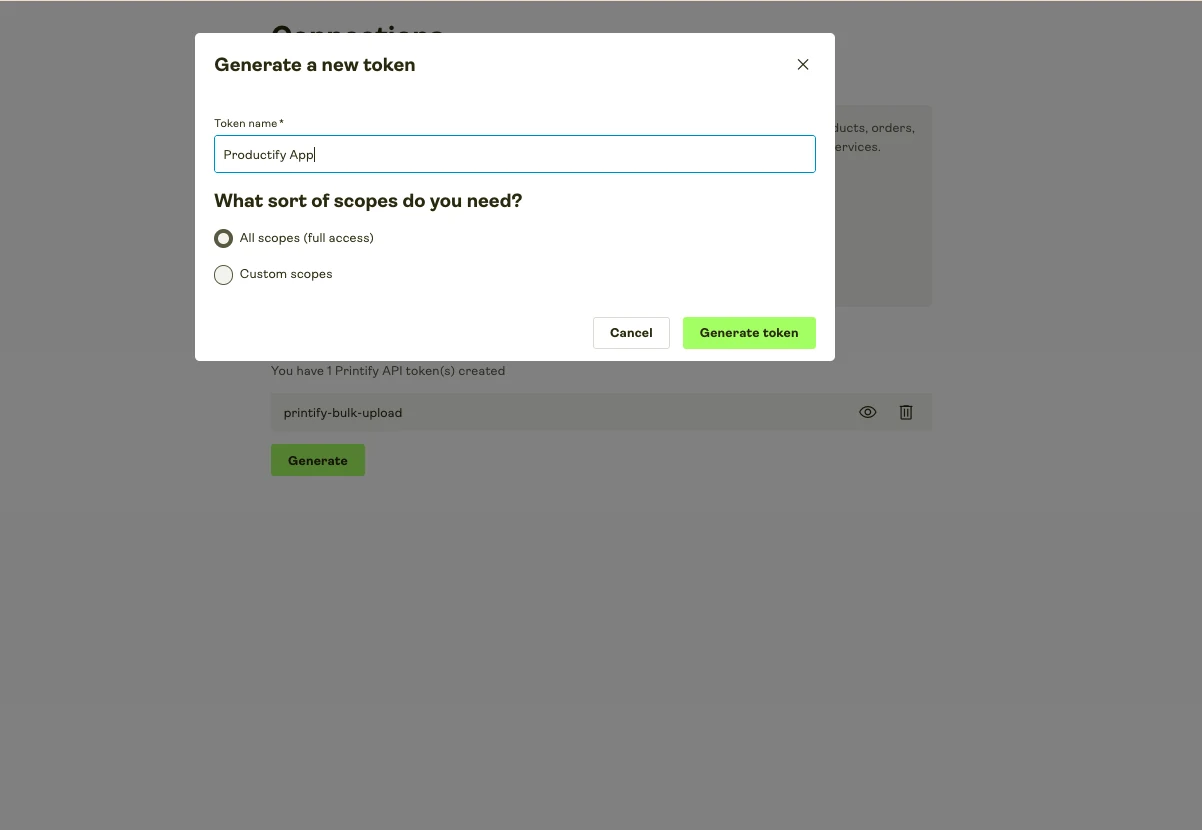
Select Generate, enter a name such as Productify App, choose All scopes, then select Generate token.
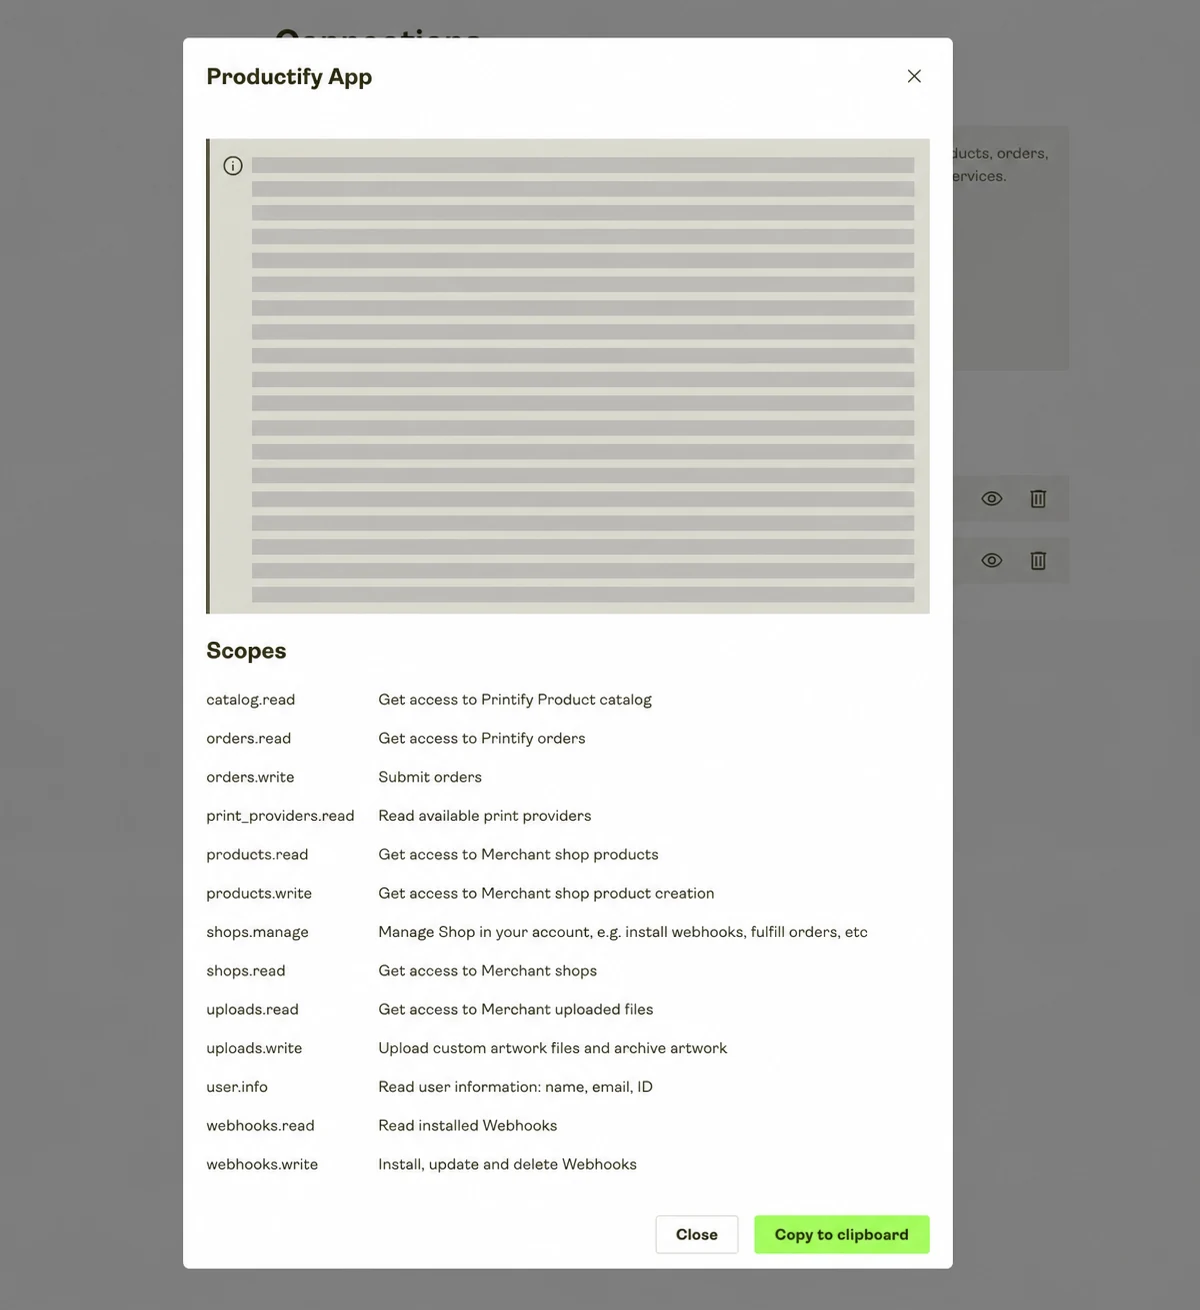
Copy the token before closing
Printify shows the complete token once. Select Copy to clipboard before closing the dialog. If you lose it, generate a replacement token.
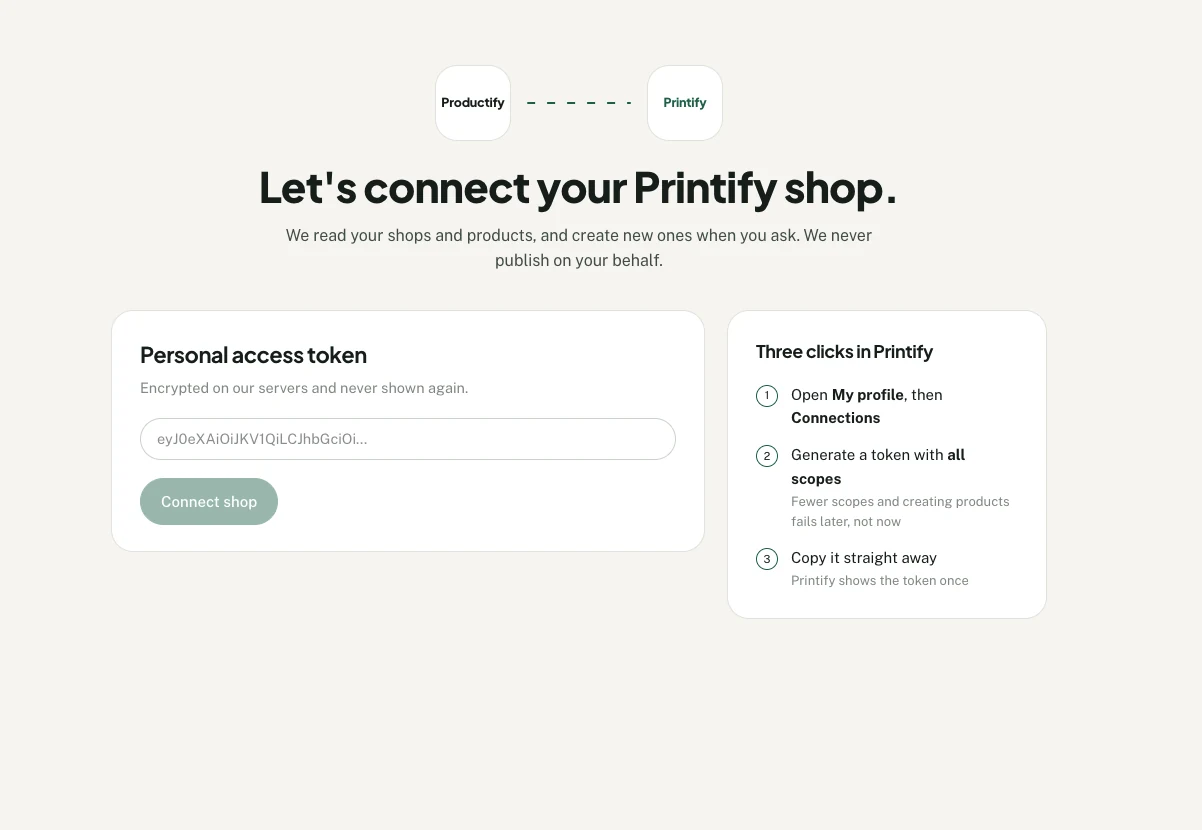
Paste the token into Productify
Open Productify's connection screen, paste the complete token and select Connect Printify. Productify checks the token and reads the shops attached to the Printify account.
Choose where to create your products
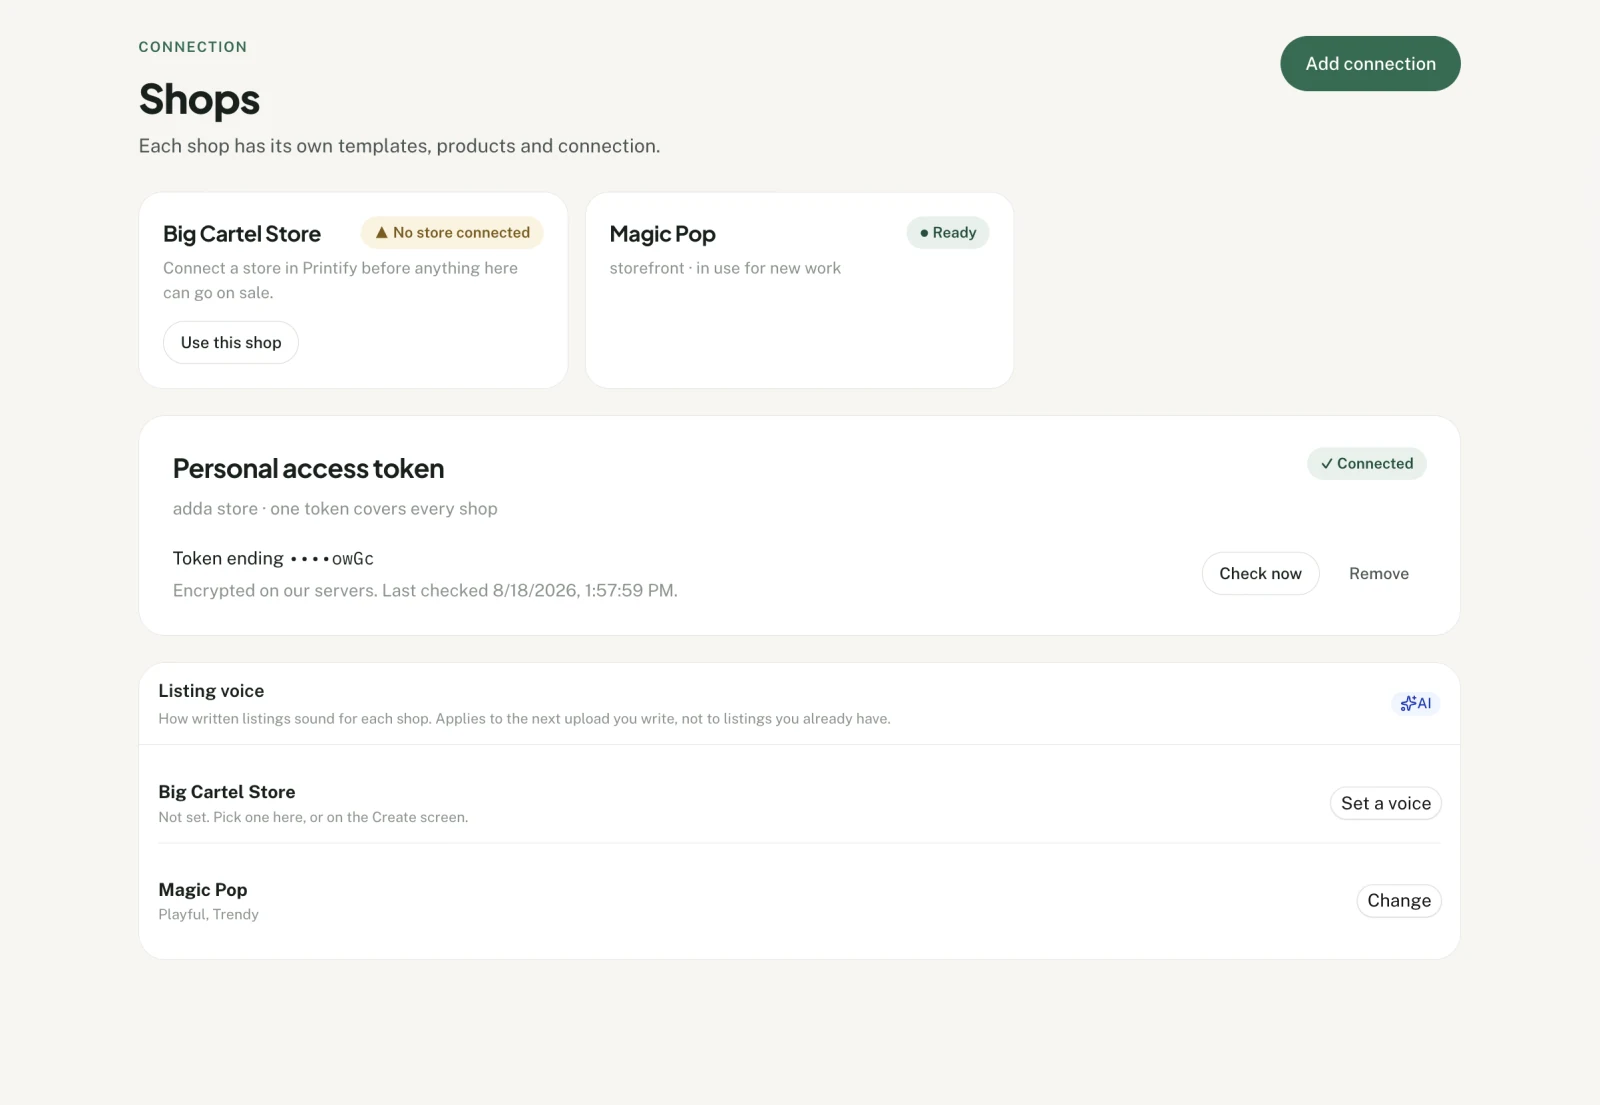
After the connection succeeds, Productify lists the shops that token can reach and selects the first. To create products in another shop, choose it on the Shops page.
Connection questions
Printify API key FAQ
Is the Printify API key the same as a personal access token?
Yes. Printify's API documentation calls the key a personal access token. It is the value an app or a script sends to Printify's API, and it is the one Productify asks for.
Where do I create a Printify personal access token?
In Printify's left navigation, open Account & Help, then Connections. Under API, select Generate, name the token and choose All scopes.
Why was my Printify token rejected?
Copy the complete token without spaces before or after it. Printify displays the token once, so generate a replacement if the original value is no longer available.
How long does a Printify personal access token last?
Printify states that personal access tokens are valid for one year. When one expires or is revoked, generate a new token in Printify and use Replace token on Productify's Shops page. Your shops, templates and products stay attached.
Can I revoke Productify's access?
Yes. Delete or revoke the token from Printify's Connections page. Productify will no longer be able to reach the shops attached to that token.